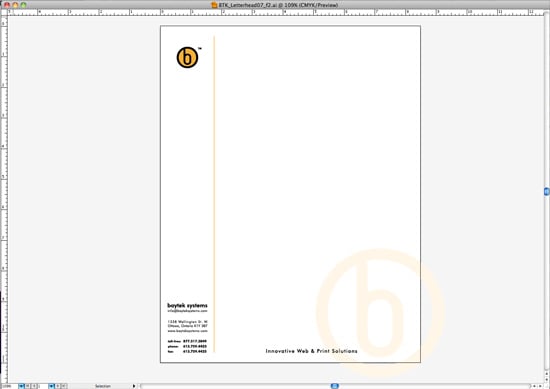
The situation: you have designed a great looking letterhead, but your client is not quite ready to get them professionally printed.
The request: to create the letterhead in Microsoft Word as a template for the client to use in the meantime. This enables them to use an everyday office printer to print their newly designed letterhead with their text overlaid on top.
Tools needed: Adobe Illustrator, Microsoft Word
See the whole tutorial after the jump.
In this tutorial I will attempt to describe (in my opinion) the best way to make a letterhead template using Adobe Illustrator and Microsoft Word. I am going to use an EPS because I have found it not only produces the best quality output, but also ensures the file size of the Word Document is substantially smaller than say using a 300 DPI JPG or PNG.
Step 1: Export from Illustrator as EPS
This is quite a simple step, but important nonetheless. Illustrator is one of the most common tools in creating business stationery, so most of you will be starting from this point. The situation will be somewhat similar to what we have below – a nicely designed layout, perhaps with a faded element going into the bleed area.

In order for the letterhead to fit the Word Document properly, we have to hide any element outside of the 8.5″ x 11″ artboard area. To do this, we save the file as an EPS – but remember to check the ‘Use Artboards’ option and Range: 1 (as below).

This should then remove any elements that are outside the art board area when importing the EPS into Word.
Step 2: Importing the EPS into Word
Open Microsoft Word, and start a new letter-sized document. Then select View>Header and Footer (as below).

Then select Insert>Picture>From file… (as below).

Find the EPS that you had saved, and then hit select.

Your EPS will now be inserted into the header of the Word Document. You will notice that the graphics are not at the correct size, and it has pushed the header border all the way to the bottom of the page.

So, we need to make adjustments to the format of the picture. To do this, right click on the image and select Format Picture.

The first thing we will want to do is adjust the size – select the size option from the menu, and resize the width and height to 8.5″ and 11″ respectively.

Now we want to adjust the layout. Select the layout option and select ‘Behind text’. Then hit the Advanced button in the lower corner.

From the Advanced Layout box, we want to be on the Picture Position tab. For both Horizontal and Vertical alignment, we want to have Absolute Position selected as the alignment. For Horizontal, we want to be at 0″ to the right of the page. For Vertical, we want to be at 0″ below the Page (as below). Then select OK, and OK again.

Your letterhead graphics should now be at the correct size and in the correct position. You can close the Header and Footer view and begin to type in the main body of the document. You may want to play around with the margins so the text lines up correctly with the background graphics.

In part 2 of the tutorial, we will look at a slightly different method that allows your clients to have the option of printing the background graphics or not.